
Welcome to the world of reliable, eco-friendly solar lighting! I know that unboxing new solar lights can spark one crucial question: How do I properly charge them when there's an on/off switch?
Don't worry—it's actually much simpler than you might think. Understanding the correct charging procedure is the single most important step in ensuring your lights perform beautifully for years to come.
This guide will walk you through everything you need to know, step by simple step.
The Quick Answer You're Looking For
To charge a solar light with an on/off switch, place the light in direct sunlight with the switch set to "OFF" for the first 1 to 2 days. This achieves a deep, optimal initial charge that conditions your battery. Once fully charged, switch the light to "ON" and position it in an unobstructed sunny location. The internal sensor will then manage daily charging and automatic illumination at dusk.
That's the short version. But stick with me—I'll show you exactly why this matters and how to get the absolute best performance from your new lights.
The Critical First Step: Giving Your Light Its First Charge

For maximum performance and longevity, your battery needs proper conditioning during its maiden voyage. Think of it like breaking in a new pair of shoes—you want to do it right from the start.
Your Initial Charging Checklist
Here's exactly what you need to do when you first take your solar light out of the box:
Turn the light switch to the OFF position. This is crucial. When the switch is off, the battery can't expend any energy on illumination. It's free to soak up all that solar goodness without interruption.
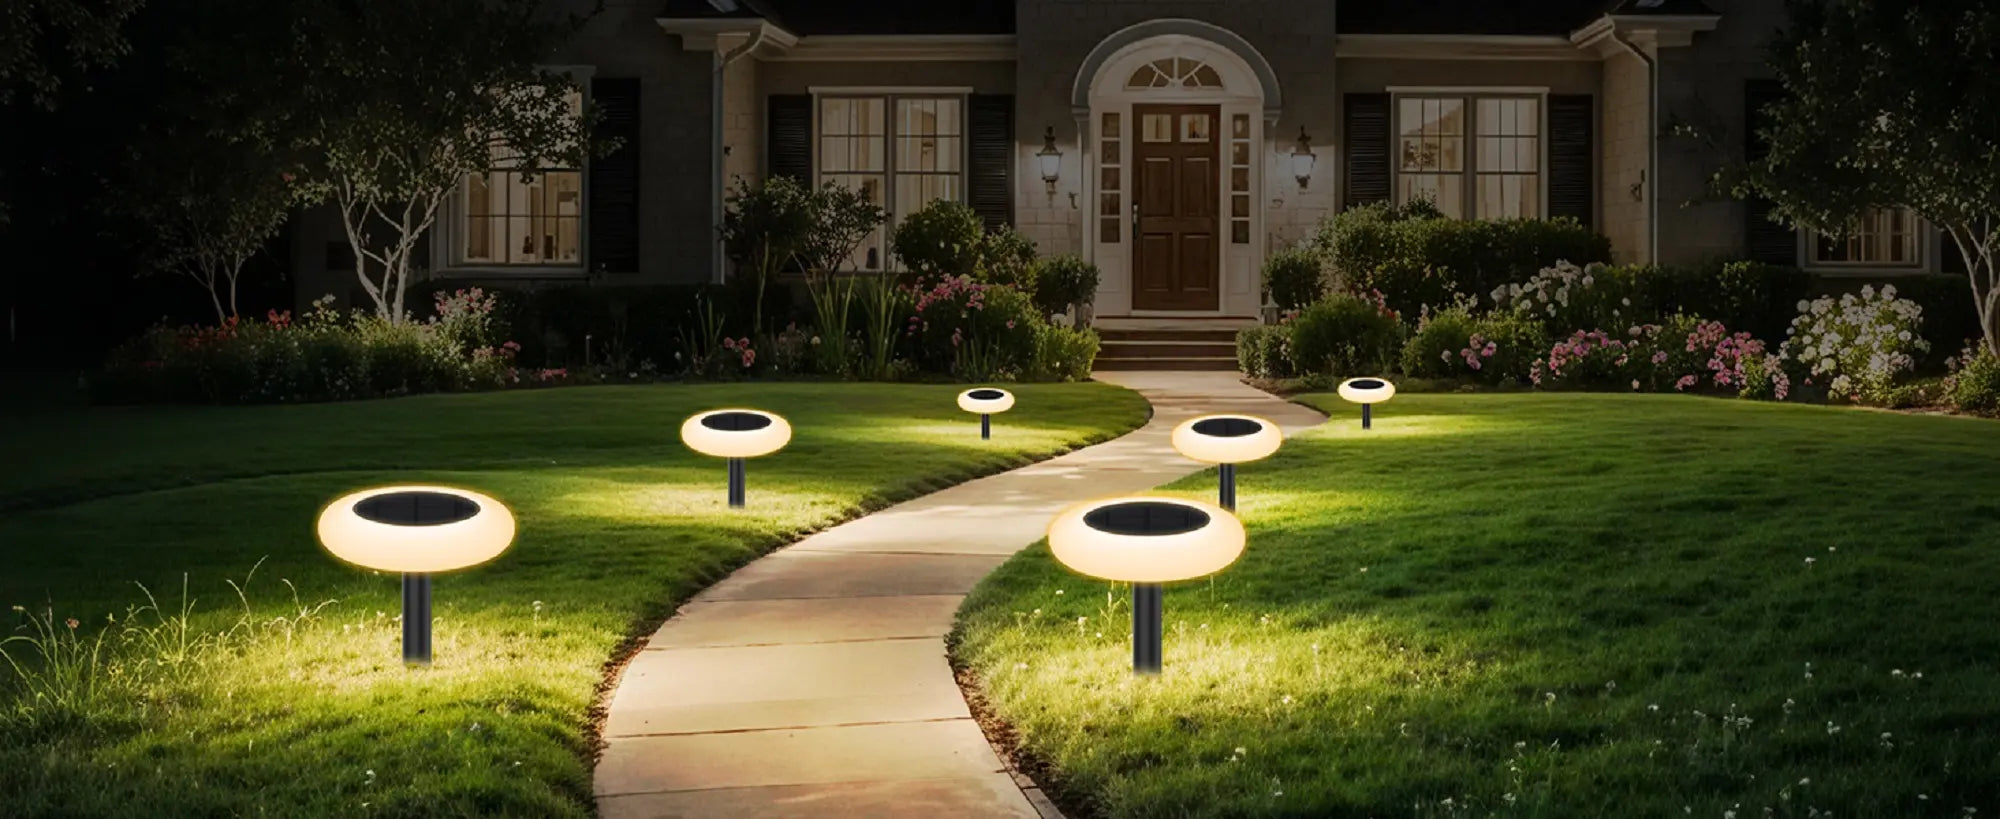
Place the solar panel in direct, unobstructed sunlight. Position is everything here. Make sure the panel receives 6-12 hours of full sunlight without shadows from trees, buildings, or garden ornaments.
Let it charge for 1-2 full days. Yes, I know you're excited to see it glow—but patience pays off. This extended charge time (ideally 12-24 hours of sun exposure) maximizes your battery's capacity before its first use.
Why This "Deep Charge" Changes Everything
This initial deep charge isn't just a suggestion—it's essential for battery conditioning. Here's what's really happening inside your solar light during this process.
When you leave the switch in the OFF position for those first couple of days, you're allowing the rechargeable battery to complete a full, uninterrupted charge cycle. This process maximizes the battery's storage capacity and calibrates the internal controller. Think of it as teaching your battery how to reach its full potential.
The result? Your light will run more efficiently, illuminate longer each night, and maintain better performance over its lifetime. It's like the difference between a marathon runner who trained properly versus one who just showed up on race day.
Setting Up for Automatic Daily Use

After your initial deep charge is complete, it's time to activate your light's smart features. This is where the magic happens.
Switching to Daily Operation Mode
Flip the switch to the ON position. Once that initial conditioning is done, turn your light on. This activates the automatic dusk-to-dawn functionality that makes solar lights so convenient.
Let the light sensor do its job. Your light has a built-in photoreceptor—basically, a tiny eye that watches for darkness. When ambient light drops significantly at dusk, this sensor automatically triggers the LED to illuminate. You don't have to do a thing.
Enjoy automatic daily charging. During daylight hours, your solar panel collects energy and charges the battery. This happens whether the switch is technically ON or OFF, as long as the light isn't actively draining power.
The beauty of this system is its simplicity. Once you've done the initial setup, your lights manage themselves. They charge when the sun's up and shine when darkness falls.
Want to understand more about how that switch actually works? Check out our full guide on the on/off switch to learn how it provides manual control, conserves battery life, and helps with troubleshooting.
Pro Tips for Maximum Charging Performance

Now that you've got the basics down, let me share some insider knowledge to keep your lights performing at their peak.
Essential Maintenance Strategies
Clean your solar panel regularly. This is the most overlooked maintenance task. Dust, pollen, dirt, and bird droppings can seriously hinder sunlight absorption. Every few weeks, give your panels a quick wipe with a damp cloth or mild soap solution.
Optimize your placement for sun exposure. Choose locations that receive abundant direct sunlight throughout the day. Avoid spots under tree branches, building overhangs, or anywhere that gets shaded. Even partial shade can reduce charging efficiency by up to 50%.
Revive older batteries with deep charging. If your light's illumination time starts decreasing after months of use, try the deep charge technique again. Switch the light OFF and let it charge for 72 hours straight. This often restores performance. If not, it might be time to replace the rechargeable battery.
Understanding Your Light's "Eyes"
Here's something that confuses many people: the solar panel and the internal photoreceptor are two different components working together.
The solar panel is your energy collector—it captures sunlight and converts it to electrical energy. The photoreceptor (light sensor) is the "brain" that detects when it's dark enough to turn on. Your physical ON/OFF switch controls overall function and can prevent the light from operating (useful for storage or battery conservation), but the photoreceptor is what actually manages the automatic dusk activation.
Think of it this way: the switch is like your home's main breaker, while the photoreceptor is like a motion sensor light. One controls power availability, the other controls automatic operation.
Now for the Fun Part: Unleash Your Creativity

Here's where properly charging your solar lights really pays off. Once your lights are fully conditioned and charged, you unlock their full potential.
Transform Your Outdoor Spaces with Color and Light
If you've chosen versatile RGB solar spot lights like these from Intelamp, you're in for a treat. A full charge doesn't just give you basic illumination—it opens up a world of creative possibilities.
These lights feature brilliant white settings for elegant landscape lighting, plus RGB colors and 3 additional fixed color options. Want to uplight a beautiful tree with warm amber? Done. Need spooky purple for Halloween or festive red and green for Christmas? Easy.
Simple Setup, Endless Possibilities
Installation couldn't be easier—just stake it in the ground, no electrician required. But here's the real game-changer: the included remote control.
With the remote, you can instantly switch between colors, modes, and brightness levels from your patio chair. Create different moods for dinner parties, adjust lighting for different seasons, or set up dramatic uplighting for architectural features. The upgraded large solar panel and powerful 4000mAh battery ensure reliable, all-night brilliance once properly charged.
Expand Your Lighting Design
Now that you've mastered the charging basics, you can confidently explore our full collection of solar outdoor lights. Whether you need wall-mounted security lights, decorative string lights for your pergola, or additional spotlights for your garden beds, you now have the knowledge to set them all up perfectly.
The possibilities are truly endless when you understand how to maximize your solar lights' performance.
FAQs
Will solar lights charge when switched off?
Yes, they absolutely will. Most solar lights are designed to charge automatically whenever their solar panel is exposed to sunlight, regardless of the ON/OFF switch position. The panel captures light energy and stores it in the internal battery as long as it's getting sun exposure. The switch primarily controls whether the light uses that stored energy at night.
Does the switch need to be on during charging?
No, it doesn't. For routine daily charging, the switch position is usually irrelevant—the solar panel does its job either way. However, manufacturers typically recommend keeping the switch OFF during that crucial initial 1-2 day charge. This ensures the battery reaches full capacity efficiently without any interruptions from the light turning on prematurely.
Should solar lights be on or off when charging for the first time?
They should definitely be OFF. This is one of those times when the switch position really matters. Leave your lights switched off for the first 1-2 days (or at minimum, 6-8 hours of direct sun exposure). This allows the battery to fully charge and condition itself, setting the stage for optimal performance and longevity.
Can I charge solar lights without sun?
Yes, there are several workarounds. This is particularly useful during winter months, prolonged cloudy periods, or if you need to charge lights indoors.
You can use artificial light sources like incandescent bulbs or high-intensity LED lamps—just position the panel close to the light source for 6-12 hours. Another trick is using reflective surfaces like mirrors or aluminum foil to redirect and concentrate available light onto the panel. Some solar lights even come with USB ports or connectors, allowing you to plug them into a wall outlet or portable power station.
For detailed guidance on all these alternative methods, read our tips for cloudy days.
Ready to Light Up Your Nights?
You now have everything you need to properly charge and maintain your solar lights with confidence. Remember: a little patience during that initial charge pays dividends in performance and longevity.
The key takeaways? Start with the switch OFF for 1-2 days of deep charging. Switch to ON for automatic operation. Keep panels clean and well-positioned. And most importantly, enjoy the creative freedom that comes with reliable, eco-friendly lighting.
Your beautifully lit outdoor space is just a few sunny days away. Happy lighting!
Related Resources
Why Your Solar Lights Have an On/Off Switch: 7 Essential Reasons Explained
How to Charge Solar Lights Without Sun: 7 Methods + Ultimate Solution
How Do Solar Lights Work? The Ultimate Simple Step-by-Step Guide