If you've ever wondered why your solar lights have an on/off switch when they're supposed to work automatically, you're not alone. It seems like a contradiction, right? The whole appeal of solar lighting is that it just works—no wiring, no timers, no fuss.
But that little switch? It's one of the smartest design features on your light. And knowing when and how to use it can be the difference between lights that fade after a few months and lights that perform reliably for years.
Let me explain.
The Solar Light Paradox: Automatic Yet Manual

Solar lights are designed to be set-it-and-forget-it. The built-in light sensor detects when darkness falls and automatically turns your lights on. When the sun comes up, they switch off and start recharging.
It's elegant. It's efficient. It's why we love them.
So why the manual override? Because automation without control isn't always smart. Life happens. Weather changes. Batteries need care. And sometimes, you want to decide when your lights turn on—not leave it up to a sensor.
The on/off switch gives you that power. It's your override button, your troubleshooting tool, and your secret weapon for extending battery life. Let's break down exactly how it works and why it matters.
How Your Solar Light Switch Actually Works

Understanding the mechanics helps you use the switch more effectively. Here's what's happening inside your light.
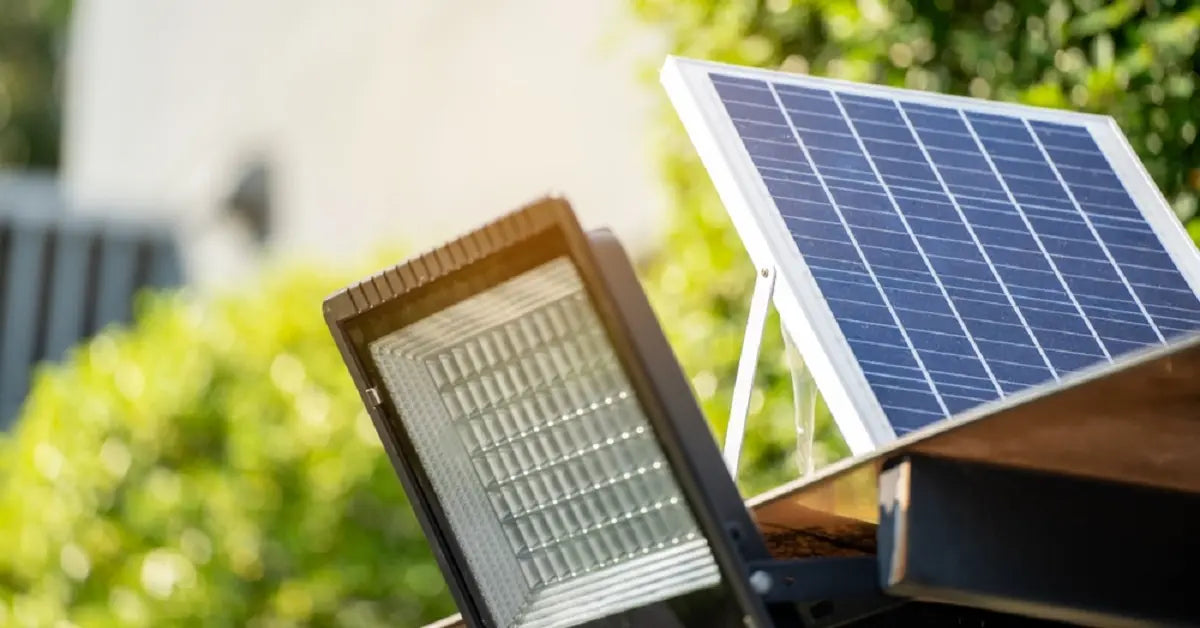
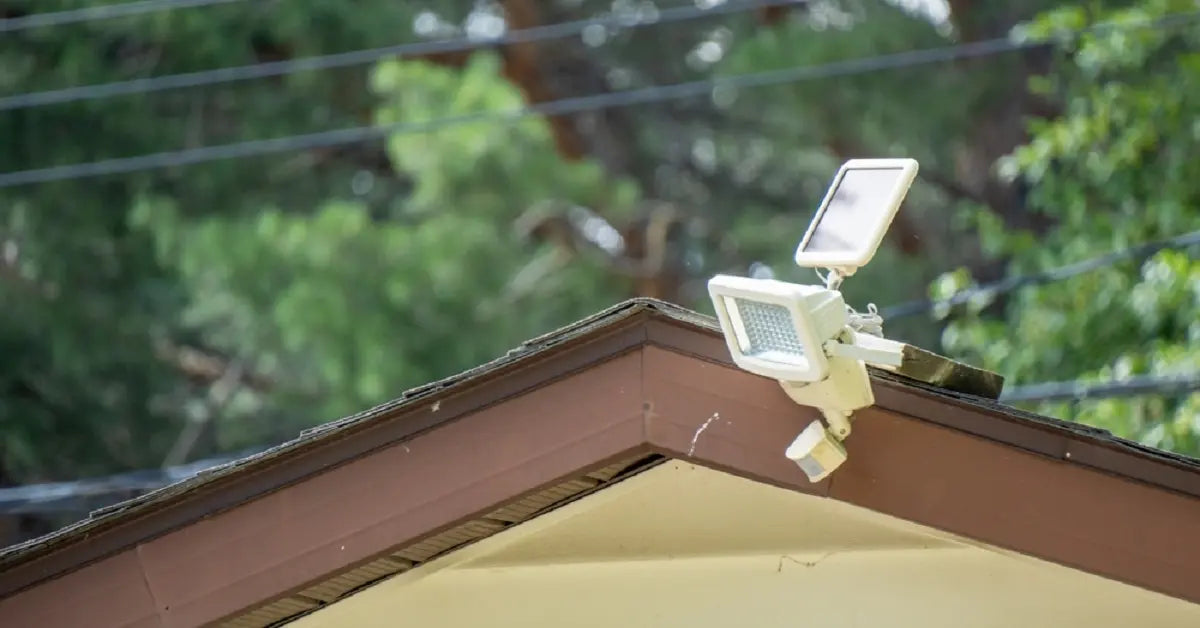
During the day, your solar panel absorbs sunlight and converts it into electricity. That energy flows directly into a rechargeable battery, building up a charge. When dusk arrives, the light sensor triggers a connection between the battery and the LED bulbs, and your light turns on automatically.
Now, when you flip that switch to "off," you're cutting the electrical pathway between the battery and the LEDs. The lights won't turn on, period—even if it's pitch black outside. But here's the crucial part: the solar panel keeps charging the battery regardless of the switch position.
Think of it like this. The switch controls the output, not the input. Your battery is still soaking up sunlight all day long, even when the switch is off.
This is why the switch is such a powerful tool for battery management.
The 7 Essential Reasons Your Solar Light Has an On/Off Switch

1. Building Up Battery Reserves for Tough Conditions
Winter days are short. Cloudy weeks happen. Sometimes your solar panel just doesn't get the sun exposure it needs to fully charge the battery in a single day.
Here's the smart move: turn your lights off the night before you need them most. This gives the battery two full days of charging without any discharge. When you finally flip the switch back on, your lights have the juice to run all night long—even if the sun wasn't cooperating.
I use this trick in late December when we only get about 9 hours of daylight. It works.
2. Deep Charging to Combat Battery Memory Effect
Rechargeable batteries can develop a "memory" if they're constantly cycled between partial charges. The battery essentially "forgets" its full capacity and starts thinking 50% is 100%. Performance drops. Runtime shrinks.
The fix is simple but requires patience. Turn the switch off and let the battery charge uninterrupted for three full days. No discharge cycles. Just pure, continuous charging until the battery reaches true 100%.
This resets the battery's internal calibration and restores its full capacity. Do this once or twice a year, and you'll notice the difference.
3. Proper Storage Prevents Battery Death
If you're storing your solar lights for the off-season, during a vacation, or while moving, that switch needs to be in the "off" position. Otherwise, the battery will continue attempting to power the LEDs in storage, slowly draining itself.
Deep discharge is the enemy of battery longevity. When a battery sits at 0% for extended periods, it can lose the ability to hold a charge at all. The switch prevents this by stopping all power drain while the light is packed away.
4. The 20-Second Reset That Fixes Most Problems
Solar lights have simple circuitry, but sometimes they glitch. The sensor gets confused. The timer goes haywire. The light just... stops working.
Before you assume it's broken, try this: flip the switch to "off," wait 20 seconds, then flip it back to "on." You've just rebooted the entire system. Minor software glitches clear. The sensor recalibrates.
It's the solar light equivalent of "have you tried turning it off and on again?" And it works about 80% of the time.
5. Manual Control for Low-Light or Indoor Use
Not everyone uses solar lights in bright, sunny yards. Some folks mount them in shaded areas, under eaves, or even indoors near windows. In these spots, the light sensor might not work properly because it's never truly "dark enough" to trigger automatically.
The switch lets you take full control. Charge the battery where there's sun, then manually turn the light on only when you need it. This ensures you're not wasting stored energy on automatic cycles that don't match your actual usage.
6. Instant Security Response
Home security isn't just about cameras and alarms. Sometimes, a sudden flood of light is the best deterrent. With the switch, you can manually activate your outdoor lighting the moment you hear something suspicious outside.
Flip the switch, and your entire yard lights up. Most would-be intruders move on quickly. Conversely, if you want to observe without alerting anyone, you can keep the lights dark and maintain the element of surprise.
7. Creating Total Darkness for Stargazing
Light pollution is the enemy of astronomy. Even a few low-wattage solar lights can wash out the night sky and ruin your view of constellations, planets, or meteor showers.
The switch gives you instant control. Turn everything off, and within seconds you've got the dark skies you need for that celestial show. When you're done, flip them back on.
Setting Up Your Solar Lights for Maximum Performance

The way you set up your lights from day one determines how well they perform for years to come.
Start with a proper initial charge. This is critical. Keep the switch in the "off" position and place the solar panel in direct sunlight for 6–8 hours minimum. Ideally, give it 1–2 full days. This initial conditioning cycle sets the battery's capacity and calibrates its chemistry properly.
For daily operation, leave the switch "on." Once your lights are installed and conditioned, the default position should be "on" so they operate automatically. The sensor takes over, and you don't have to think about it.
Only switch to "off" for special purposes: long-term storage, deep charging cycles, troubleshooting, or manual control situations.
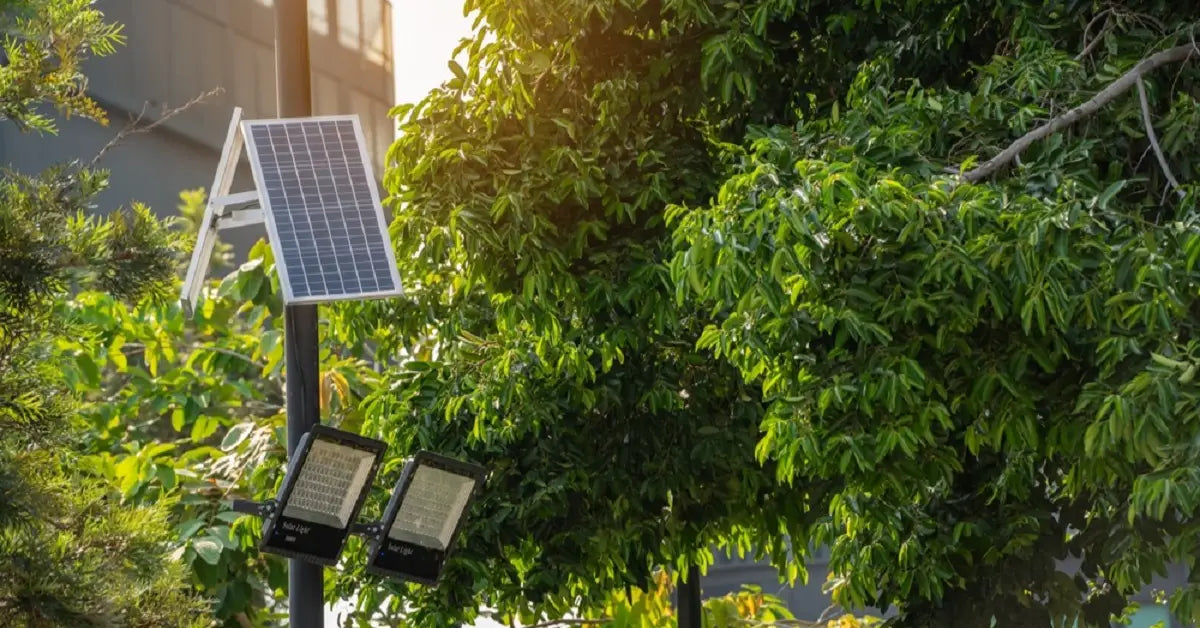
This principle of total user control is central to good design. For example, a smartly designed solar flood light from Intelamp pairs this essential manual switch with a 16-foot cable, giving you control over not just the light, but where it gets its power. You can place the panel in full sun while mounting the light in a shaded spot—maximizing charge without compromising placement. That's the kind of thoughtful design that extends lifespan and performance.
Troubleshooting and Maintenance Tips
The classic first check: If your solar light isn't working, verify the switch is in the "on" position. I know it sounds obvious, but you'd be surprised how often this is the culprit.
Test the switch during the day. Cover the solar panel completely with your hand. If the light turns on, the switch is in the "on" position and the sensor is working properly.
Keep the panel clean. Dust, pollen, and grime block sunlight and reduce charging efficiency. Wipe down the panel with a damp cloth at least once a month. In dusty areas, do it every couple of weeks.
These simple habits keep your lights running at peak performance.
FAQs
Do solar lights charge when the switch is off?
Yes, absolutely. The switch only controls the LED output. The solar panel continues charging the battery regardless of switch position.
Should I leave the switch "on" all the time?
For normal daily use, yes. But during storage, extreme weather, or when you're doing a deep charge cycle, turning it off conserves battery health and extends lifespan.
How exactly does the switch extend battery life?
By preventing unnecessary discharge cycles when the light isn't needed. Every charge/discharge cycle wears down the battery slightly. The fewer unnecessary cycles, the longer the battery lasts.
Take Control of Your Solar Lighting
That simple on/off switch isn't just a backup feature or an afterthought. It's a powerful tool that gives you control over performance, battery health, and longevity.
Use it strategically—for initial charging, seasonal storage, troubleshooting, and deep conditioning—and your solar lights will reward you with years of reliable service. Understanding how to use every feature of your light empowers you to make a smart choice. We invite you to explore our full range of solar outdoor lights, all designed with user control and long-term reliability in mind.
Because the best automation is the kind you can override when it matters most.
Further reading
How to Charge Solar Lights Without Sun: 7 Methods + Ultimate Solution
How Long Do Solar Lights Last? Engineer's Guide to Durability (2025)
How Do Solar Lights Work? The Ultimate Simple Step-by-Step Guide


