
I've been there. You install a solar light, wait a few days, and wonder: is this thing even working? The panel sits there silently.
No beeping. No flashing. Just… nothing.
That uncertainty is frustrating. It's especially annoying when you've invested in outdoor lighting for security or convenience.
As someone who's diagnosed hundreds of solar systems, I can tell you something surprising. Most solar lights are charging—you just don't know how to check. Let me walk you through three proven methods I use in the field.
You can tell if a solar light is charging by checking for indicator lights that change color during charging. You can also look for a status icon like a lightning bolt in connected apps. Or use a multimeter to measure the panel's voltage output. Each method gives you different levels of certainty, from quick visual confirmation to precise electrical measurements.
Method 1: The Visual Check (Indicator Lights & Icons)

This is your fastest verification method. Most modern solar lights include some form of feedback system.
Look for Specific Colors
Many solar lights feature built-in battery indicators with color-coded status. A red light typically means charging is in progress or battery is low. When you see the light switch to green (or turn off completely), that usually signals a full charge.
The challenge? Not all lights use the same color scheme. Some cheaper models have dim indicators that are hard to see in daylight.
Find a Status Icon
If you're using app-connected solar devices like cameras or smart lights, open the app. Check the battery symbol. An active charging state shows a lightning bolt icon overlaid on the battery graphic.
This icon confirms the device is receiving sufficient current right now.
Here's what catches people off guard: this indicator is surprisingly sensitive to light conditions. On some devices, the lightning bolt only appears under direct sunlight—not in shade or through clouds. I've seen customers panic because their camera showed no charging icon on an overcast day, even though everything was working perfectly.
Check Central Displays
For larger setups like RV solar systems, look for indicator lights on your control panel. A glowing red light on the charge controller typically means power is flowing from panels to batteries. These systems often include LCD screens showing real-time charging amperage and battery voltage.
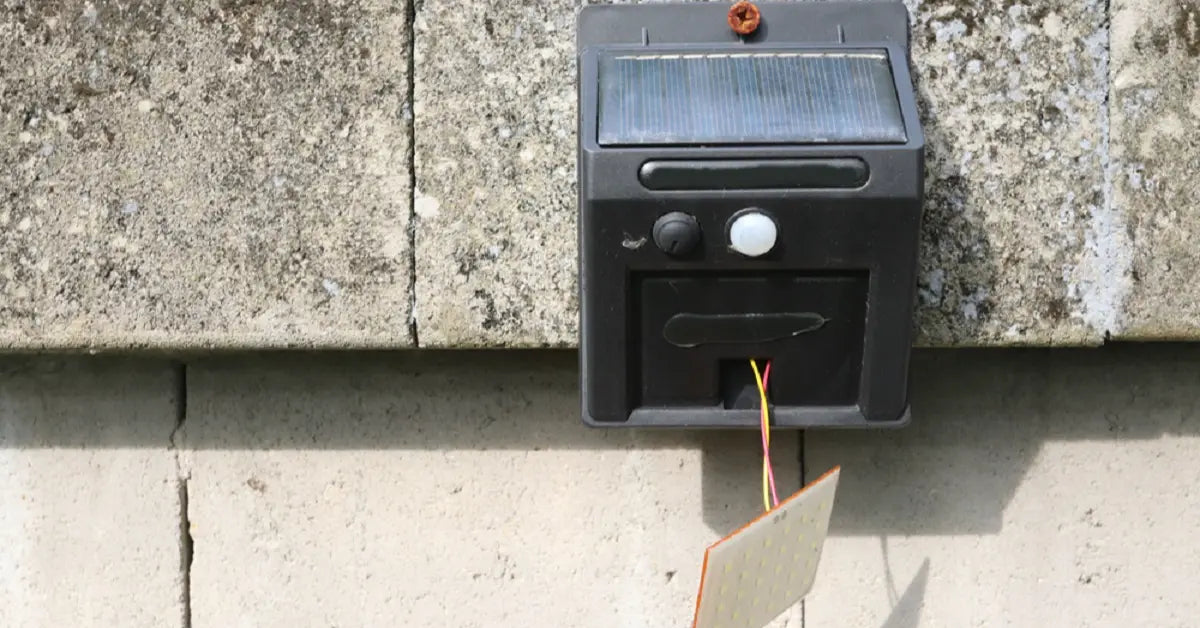
Method 2: The Practical "Cover Test" (For Lights Without Indicators)

No indicator lights? No problem. This is my go-to test for basic solar lights.
Here's why this works: solar panels pull double duty. They're not just power generators—they're also light sensors. The controller chip inside your light reads the panel's voltage output.
When voltage is high (sunlight hitting the panel), the controller thinks it's daytime. It enters charging mode. When voltage drops to near zero (darkness), it switches to discharge mode and turns the light on.
The photovoltaic effect is the key here. When photons hit the silicon cells in your panel, they knock electrons loose. This creates electrical current. The controller monitors this voltage constantly.
By artificially creating "nighttime," you're forcing the controller to reveal whether the system is alive.
Here's how to do it:
- Confirm the light is switched on—check for a physical power button or switch.
- Completely cover the solar panel with your hand, a towel, or cardboard. Make sure no light reaches it.
- Watch for the light to turn on within 10-30 seconds.
If the light activates, congratulations—your charging system is functional. The panel generated enough voltage during the day to prove it's working. The light sensor responded correctly to darkness.
For larger battery systems like RVs, the test is slightly different. Measure your battery voltage with the panel covered (no charging). Then uncover the panel in sunshine and measure again.
A healthy panel should show a voltage increase of more than 1 volt. That's clear proof that charging is occurring.
Want to ensure your switch position isn't interfering with charging? Check our guide on charging with the switch on or off.
Method 3: The Technical Check Using a Multimeter

When you need absolute certainty, reach for a multimeter. This tool gives you hard numbers that don't lie.
Measuring Voltage (Open Circuit Voltage)
This test tells you if your panel can generate the rated voltage under optimal conditions.
- Set up your multimeter: Insert the red probe into the voltage port and the black probe into the COM port.
- Turn the dial to DC voltage (usually marked as V with a straight line).
- Connect the probes: Red to positive, black to negative on the panel's output cables.
- Place the panel in full sunlight with no shadows.
- Read the voltage and compare it to the panel's label.
Flip your panel over and find the specifications label. Look for "Voc" or "Open Circuit Voltage." Your multimeter reading should come close to this number (within 10-15%).
For example, if the label says 6V, you should see around 5.5-6V in bright sun. If your reading is dramatically lower, the panel is either defective or something's blocking the light.
Measuring Current (Short Circuit Current)
This test confirms the panel can actually deliver power, not just voltage.
- Check the fuse rating on your multimeter. Find the "Isc" (short circuit current) on your panel label. Your multimeter's fuse must be rated higher than this amperage, or you'll blow the fuse.
- Move the red probe to the current/amp port on your multimeter.
- Switch the dial to amp measurement (typically marked with "A").
- Connect probes the same way—red to positive, black to negative.
- Read the amperage. It should measure close to the Isc rating on the label.
Some multimeters have multiple amp ports (10A and 200mA, for instance). Make sure you're using the correct one for your expected current range.
What Stops Solar Lights from Charging?
Even with a functional panel, several factors can prevent proper charging.
Dirty panels are the most common culprit I see. A thin film of dust, pollen, or grime can reduce power output by 20-40%. Bird droppings are even worse.
Wipe your panels monthly with a damp cloth.
Shading kills efficiency. Even partial shade from a tree branch or roof edge can dramatically reduce output. Solar cells are wired in series, so shading one cell affects the entire panel.
Position your light where the panel faces the sun directly during peak hours (10am-2pm).
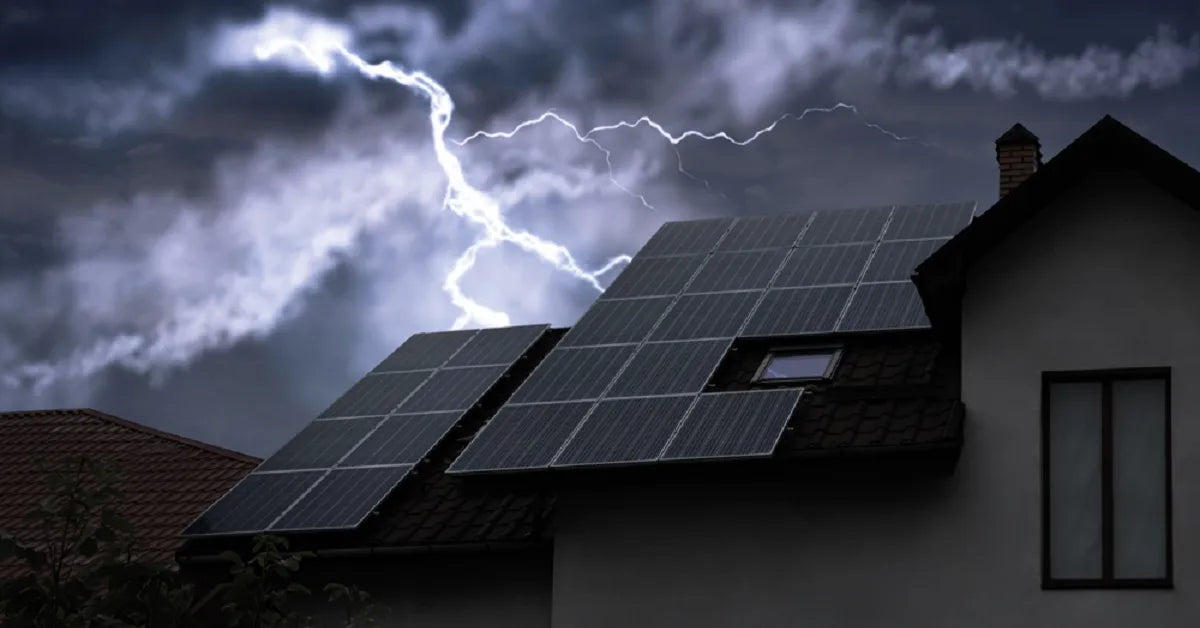
Weather conditions matter more than people think. Overcast days can reduce solar output by 70-90%. Your light might still charge, just much slower.
Understanding how clouds affect solar charging helps set realistic expectations.
System overload happens when your light consumes more power than the panel can generate. If you're running high-brightness modes all night every night, the battery might never reach full charge. It's like trying to fill a bucket with a hole in it.
Eliminate Charging Anxiety with Better Engineering

The real solution? Choose solar lights designed to eliminate guesswork from the start.
Why Battery Chemistry Makes All the Difference
Not all batteries are created equal. Cheap solar lights use NiMH or basic lithium cells that degrade quickly. They show erratic charging behavior.
Intelamp's approach is different. Our 4000mAh LiFePO₄ batteries offer three critical advantages. First, voltage stability—consistent output throughout the discharge cycle.
Second, extended lifespan (typically 2000+ cycles versus 500 for standard lithium). Third, better temperature tolerance. This chemistry means your light maintains consistent brightness and predictable charging patterns year after year.
That 4000mAh capacity isn't arbitrary either. It's sized to support our 1300-lumen output through the entire night. It maintains enough reserve for cloudy periods.
You're not left guessing whether the battery is adequate.
The Adjustable Panel Solution
Here's a problem most manufacturers ignore: the sun's angle changes with seasons and latitude. A fixed panel optimized for summer will underperform in winter, and vice versa.
Our adjustable panel design solves this. You can pivot the panel to track the sun's seasonal path. This maximizes exposure year-round.
This isn't just about convenience—it's about ensuring consistent charging regardless of when you install the light or where you live.
For someone in Maine, that means angling the panel more steeply in winter to catch the low-angle sun. In Texas, you'd adjust it differently. The flexibility eliminates the "my light worked great in summer but failed in winter" complaint I hear constantly.
Dual Sensors Prevent False Alarms
Many customers think their light isn't charging when it's actually just conserving power intelligently. Our dual-sensor system uses both a motion detector and ambient light sensor. The light only activates when both conditions are met: darkness AND motion.
This prevents the battery drain that happens with single-sensor lights. Those can't distinguish between shadows and actual nighttime. You get longer runtime without questioning whether charging is working.
Discover how these features work together in Intelamp's 1300LM dual-sensor floodlight.
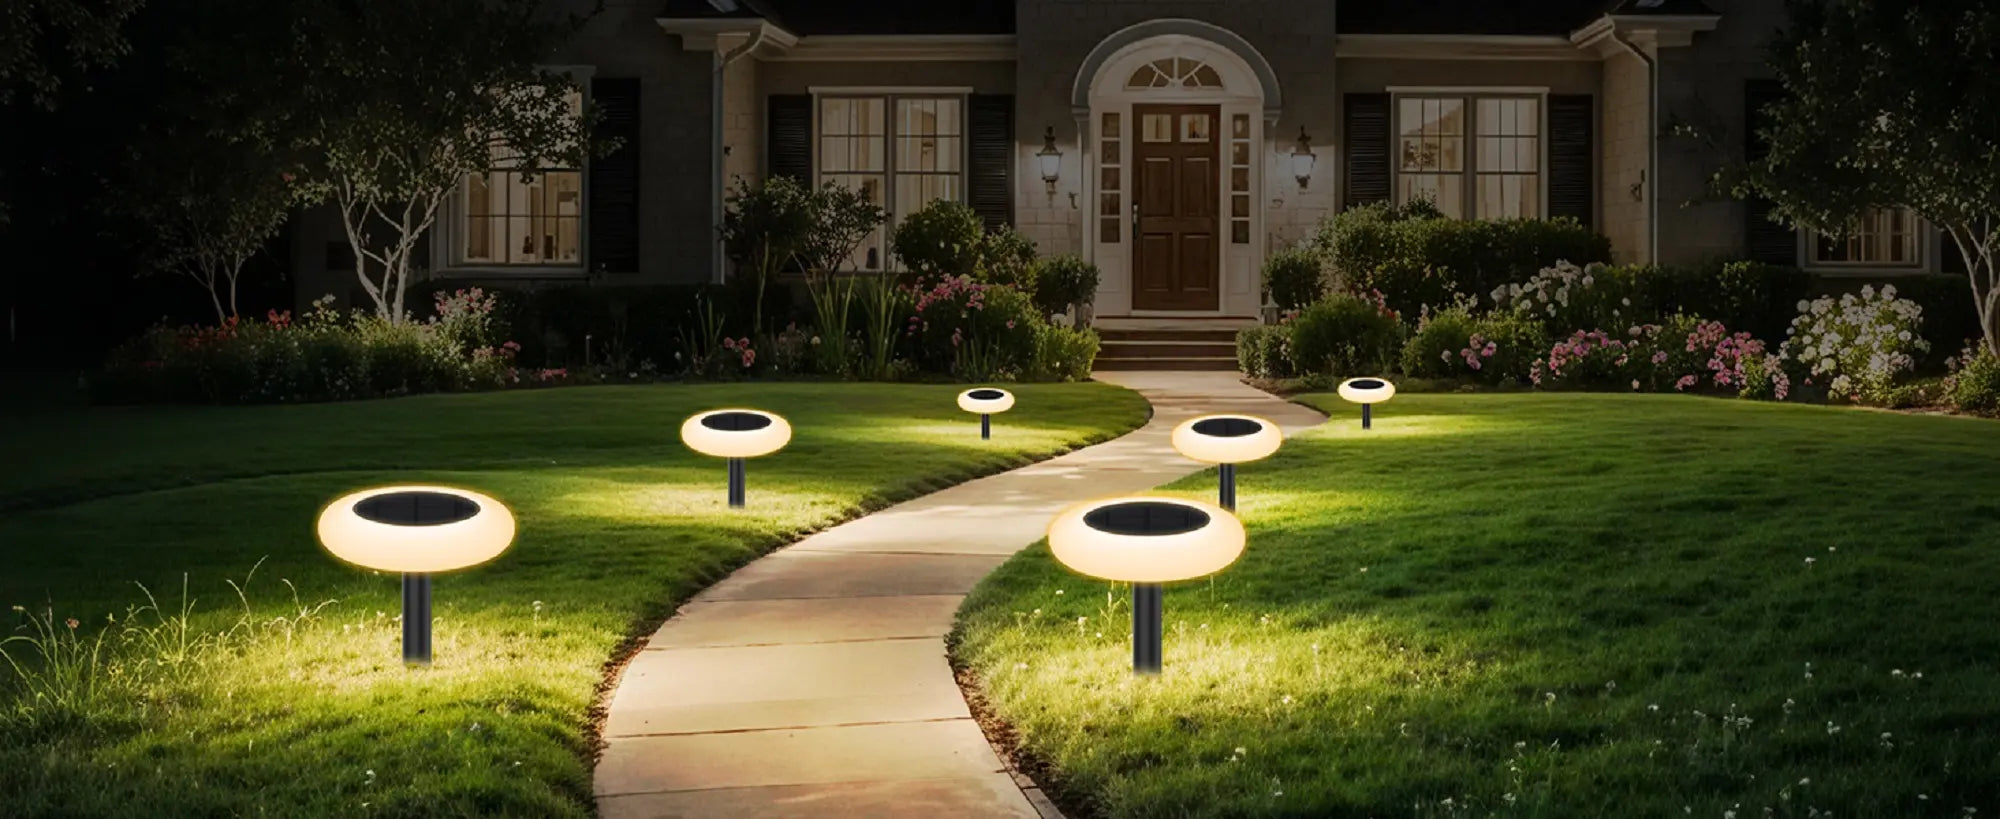
Explore Reliable Solar Solutions
Ready to move beyond guesswork? Browse our collection of adjustable solar flood lights designed for dependable performance.
FAQs
How do you know if your solar is charging?
You can confirm charging by observing an indicator light. Look for a lightning bolt icon in apps or a colored LED on the device. You can also measure a voltage increase when you expose the panel to sun.
Or perform the cover test—if the light turns on immediately when you block the panel, the system is functional and has been charging.
How to know if solar light is fully charged?
A fully charged solar light typically shows a status change. The indicator shifts from red to green, turns off, or (in app-connected devices) shows 100% battery with no lightning bolt.
With a multimeter, you'll measure voltage at or above 95% of the battery's rated capacity. For example, a 12V battery reading 11.4V or higher is essentially full.
How long does it take for a solar light to charge?
Charging time varies dramatically based on weather, panel size, and battery capacity. Small garden lights might fully charge in 6-8 hours of direct sun. Larger security lights with 4000mAh batteries typically need 7-10 hours of good sunlight.
In real-world conditions with variable weather, expect 10-25% charge per day during overcast periods. If your light takes significantly longer than the manufacturer's specification, investigate for panel obstructions or defects.
Further Reading
The Definitive Guide: How to Charge Solar Lights with an On/Off Switch
Can You Use Regular Batteries in Solar Lights? (The Definitive Safety Warning)
Stop Guessing: How Long Do Solar Lights ACTUALLY Take to Charge?