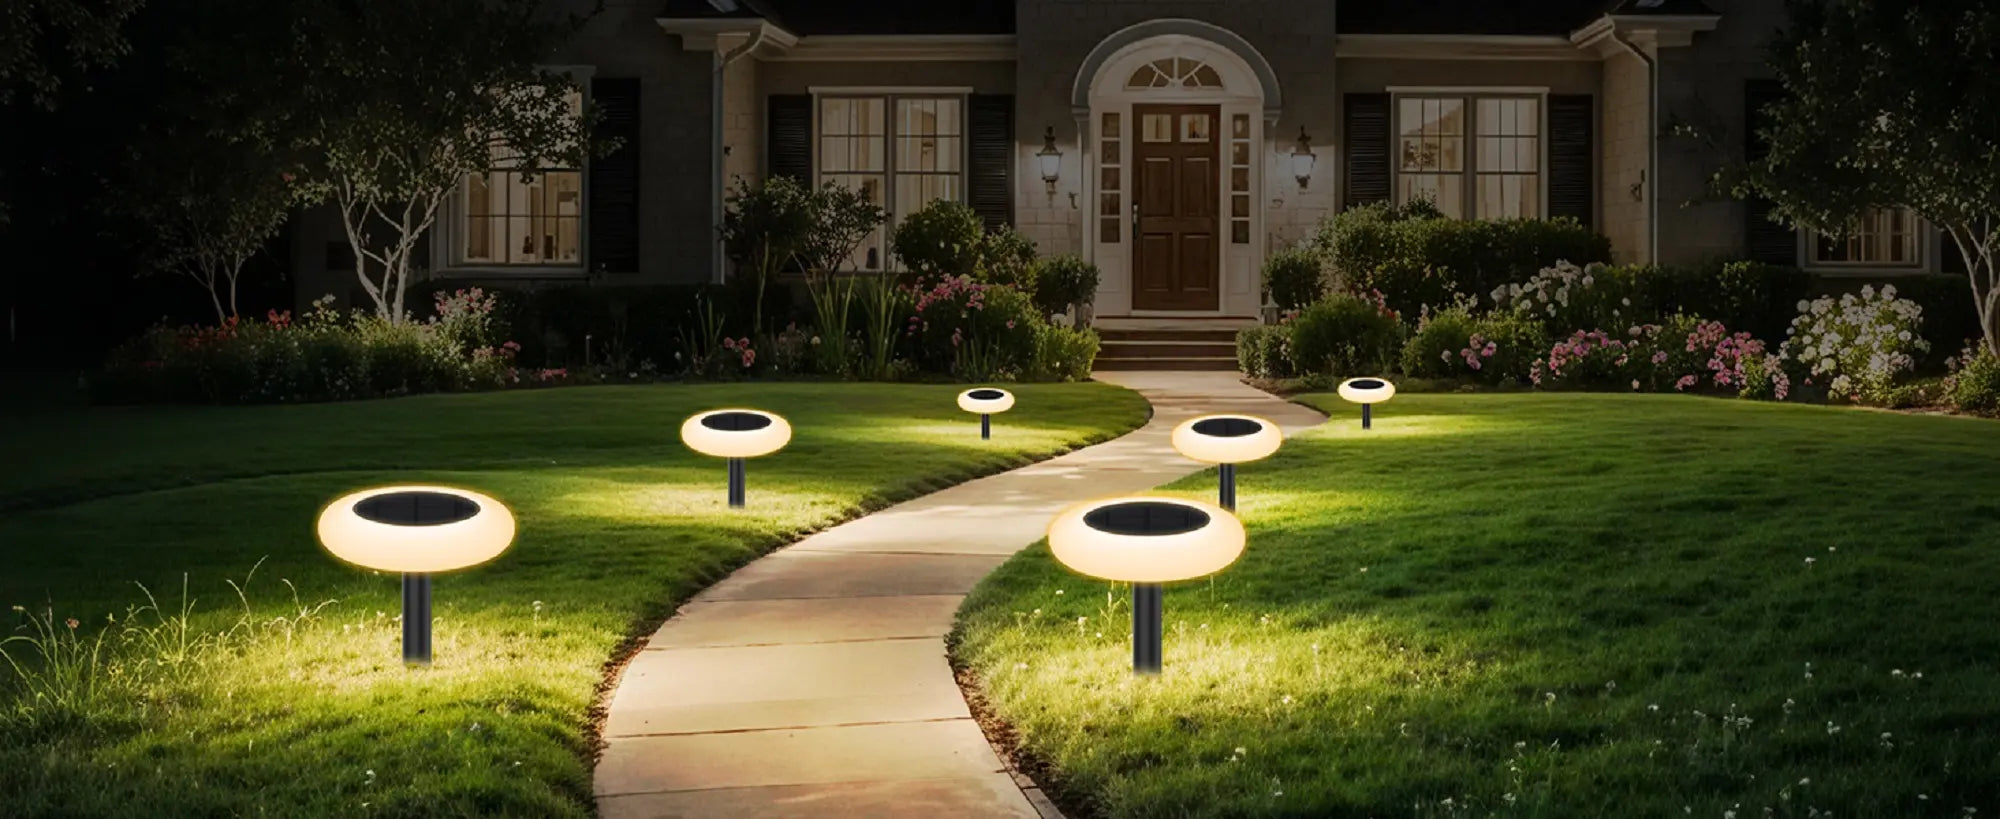

Last summer, I stood in my backyard at dusk, squinting at my solar path lights. They barely glowed. I could've sworn they used to light up the whole walkway.
Sound familiar?
Here's what most people don't know: you can often fix dim solar lights in under 10 minutes. And I'm not talking about buying expensive replacements. Simple cleaning, smart placement, and a few clever hacks can transform those sad little glows into proper lighting.
I've restored dozens of solar lights using the tricks in this guide. Some took 5 minutes. Others required getting nerdy with electronics. And yes, sometimes I had to admit defeat and upgrade—but I'll show you exactly when that makes sense.
The Short Answer: Can You Really Boost Solar Light Brightness?

To make solar lights brighter, start with basic maintenance like cleaning the solar panel and lens. These steps restore your lights to their original output and are often the fastest fixes. Dirt, pollen, and weather buildup are usually the culprits behind dim lights.
For bigger brightness boosts, you can use reflective surfaces (mirrors or aluminum foil) to redirect light. If you're comfortable with electronics, DIY circuit modifications can increase output. But there's a catch—cheap garden lights have physical limits that no amount of tinkering can overcome.
Let's dive into the practical steps that actually work.
Level 1: Basic Maintenance to Restore Original Brightness

1. The "Solar Car Wash": Cleaning Panels Correctly
A cloudy lens or dirty panel is the most common reason solar lights lose brightness. Think about it—when dirt and grime coat the solar panel, it blocks sunlight from charging the battery. When the lens gets grimy, less light escapes from the LED.
I clean my solar lights every month during growing season. Here's my process:
- Wipe both the lens and solar panel gently with a damp microfiber cloth and a drop of mild dish soap
- Rinse thoroughly with clean water to remove any soap residue
- Dry completely with a soft cloth before turning the light back on
Pro Tip: Regular cleaning ensures your fixture absorbs maximum sunlight, even on those overcast days when every ray counts. I've seen lights double in brightness just from a good cleaning.
2. Clear Obstructions and Optimize Placement
Solar panels are hungry for direct sunlight. Most units need about six hours of unobstructed sun daily to charge fully and deliver bright light at night.
Walk around your yard and assess each light:
- Relocate fixtures to spots that receive direct sunlight for most of the day (morning through early afternoon is ideal)
- Trim back any plants or tree branches casting shadows on the panels—even dappled shade reduces charging
- Angle the solar panel toward the sun's strongest position (South-facing in the Northern Hemisphere works best)
I moved three of my pathway lights last spring from under a Japanese maple to a sunnier spot. The difference was dramatic—they went from barely visible to actually lighting the path.
3. Battery Check: The Heart of the Problem
Here's something most people don't realize: rechargeable batteries lose capacity over time. Your light might still turn on, but a degraded battery means it won't stay bright or run as long.
Open up the battery compartment and inspect:
- Look for corrosion (white crusty powder around the contacts)—clean it with fine-grit sandpaper or a small wire brush
- Replace the battery with a new rechargeable cell matching the original size and type
- Consider upgrading the mAh rating: Swapping a cheap 300mAh NiCd battery for a 600mAh or higher NiMH battery extends runtime and improves overall brightness
Pro Tip: Batteries typically last only 600 charge cycles, which means replacement every two years or so. Mark your calendar!
Want to understand how battery capacity affects run time and brightness longevity? I wrote a detailed breakdown of the relationship between battery health and illumination performance.
Level 2: Smart Optical Hacks (Reflectors & Lenses)
These low-cost physical adjustments help you maximize every bit of light your fixture produces. I love these tricks because they're reversible and don't require any technical knowledge.
Add Reflectors (Mirrors or Aluminum Foil)
Reflective surfaces are your secret weapon. You can use them two ways:
To boost charging: Place a small mirror or aluminum foil behind the solar panel to redirect more sunlight onto the panel surface. I've seen this work particularly well for lights in partially shaded spots.
To amplify light output: Position reflectors behind or around the LED to bounce light toward your desired area. Even a simple aluminum foil cone can concentrate the beam significantly.
Use Glass Jars or Decorative Gems (Refraction Magic)
This one's both functional and decorative. A clean, clear glass jar placed over a solar light creates a beautiful refraction effect that spreads the light beam more evenly.
I did this with some mason jars for a dinner party. The effect was stunning—soft, diffused light that covered a much wider area. You can also add clear glass gems inside to create interesting light patterns.
Level 3: Advanced Mods for the Tech-Savvy

Warning: These modifications are for inexpensive lights only. Don't risk damaging high-quality fixtures with these experiments.
1. Restoring Clear Plastic (The "Hazing" Science)
Over time, UV exposure degrades plastic lens covers, causing them to haze or cloud up. This cloudiness is actually micro-cracks and surface damage at the molecular level. The result? Less light reaches the solar panel during charging, and less light escapes at night.
Here's my restoration process:
Step 1: Wet Sand
Use fine-grit sandpaper (start with 800-grit, then move to 1000-grit) and keep both the plastic and sandpaper wet while you work. This prevents scratching and removes the damaged outer layer.
Step 2: Polish
Follow up with a plastic restorer or polishing compound. I use a magic eraser first, then finish with specialized plastic polish. The transformation is remarkable.
Pro Tip: Some people ask about using clear nail polish on solar lights. While nail polish can seal minor cracks temporarily, it won't restore clarity to hazy plastic. Wet sanding and polishing is the proper method for maximum light transmission.
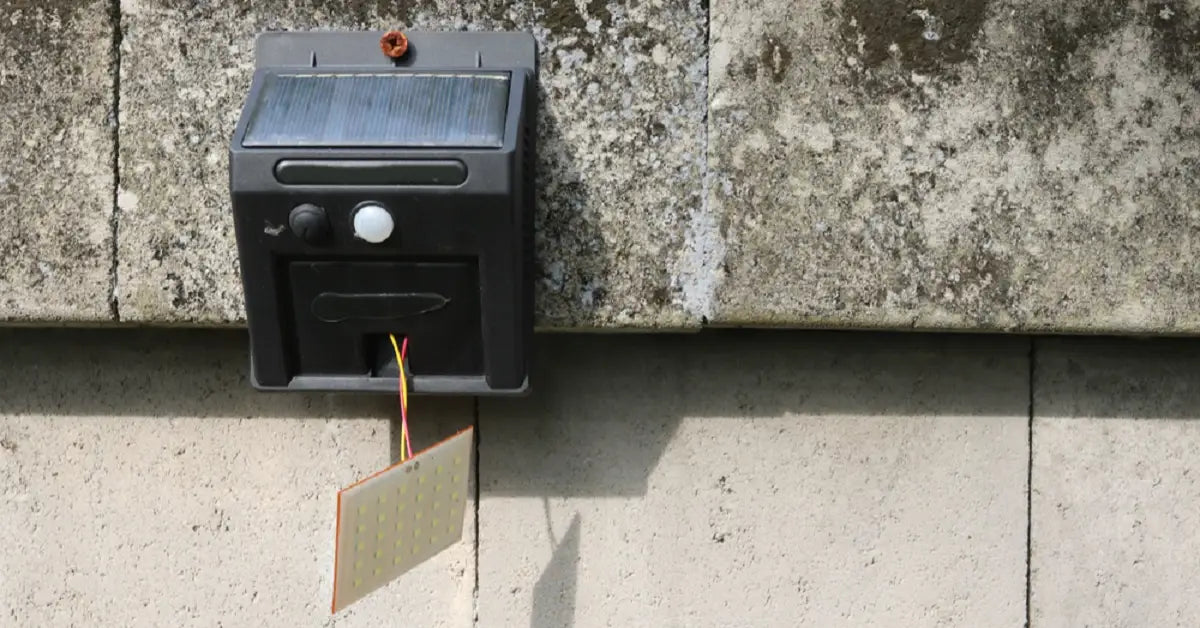
2. Upgrade Components (Advanced Electronics)
If you're comfortable with a soldering iron and understand basic circuits, you can modify the internal components. But proceed with caution.
Modify the Inductor:
Cheap solar lights use an inductor to boost the low battery voltage (typically 1.2V) high enough to drive the LED. Changing this inductor value can increase voltage boost and make the LED brighter. However—and this is critical—higher brightness means more heat, which significantly shortens LED lifespan. You're trading longevity for intensity.
Swap to a Higher-Lumen LED:
If your light uses a replaceable LED module, upgrading to a higher-output unit can dramatically increase brightness. Make sure your circuit can handle the increased power draw.
Critical Warning: The circuitry in basic solar garden lights is designed only for the components they ship with. Adding additional LEDs or significantly increasing power draw will overload the circuit and may destroy the fixture entirely.
When Hacks Aren't Enough: The Case for High-Performance Upgrades

I've repaired dozens of solar lights over the years. But eventually, I had to face reality—some lights simply can't deliver the brightness I needed, no matter how much I tweaked them.
The Physics of 3000 Lumens: Why DIY Has Limits
Standard solar garden lights are inherently low-wattage devices. Most produce 5-15 lumens at best. You cannot expect extremely bright light from basic solar garden lights—it's simply not possible given their small solar panels and tiny batteries.
If you need security lighting or want to illuminate wide outdoor spaces, even the most aggressive DIY modifications won't bridge that performance gap. A cheap 5-lumen light will never match a proper security fixture, no matter how many LEDs you try to add.
Sustainable Power: When Upgrading Makes Sense
Here's what I've learned: sometimes the most eco-friendly choice is buying a quality product that lasts, rather than repeatedly repairing disposable fixtures.
When I needed serious brightness for my backyard security, I upgraded to Intelamp's 3000LM linkable solar flood light. The difference is staggering—it delivers genuine security-level illumination with a massive 12000mAh battery that powers through entire nights.
What sealed the deal for me? Intelamp's commitment to sustainability. Their fixtures are Global Recycled Standard certified and contain at least 50% recycled materials. They're also Climate Pledge Friendly, which means I got the brightness I needed without adding to the plastic waste problem.
The 12000mAh battery eliminates the rapid dimming and capacity loss that plagues cheap lights. No more replacing batteries every year or dealing with fixtures that barely glow by midnight.
Pro Tip: If you're constantly repairing the same lights year after year, calculate the cost of your time and materials. Often, investing in a durable, high-performance fixture saves money in the long run.
Explore Durable, Eco-Friendly Outdoor Lighting
Ready to upgrade your entire outdoor lighting setup? Browse our high-brightness solar collection for sustainable solutions that actually deliver on the lumens promise.
FAQs
How to restore faded solar lights?
Start by washing the lens, then wet-sand it with fine-grit sandpaper. Finish with plastic polish to restore clarity. The cloudiness comes from UV damage breaking down the plastic surface over time. Also replace old batteries—they're usually the real culprit behind dim lights.
Why are my solar lights not very bright?
Three main reasons: dirty panels blocking sunlight, dead batteries that can't hold a charge, or poor placement in shady spots. Clean everything first, check if batteries need replacing, and make sure your lights get 6+ hours of direct sun daily.
Does clear nail polish work on solar lights?
Sort of. Nail polish fills tiny surface pores in slightly degraded plastic, which can improve transparency a bit. But for seriously hazy lenses, it's basically useless. You need wet sanding and proper plastic polish to actually restore clarity and maximize light output.
Final Thoughts
Most dim solar lights just need a good cleaning and fresh batteries. Seriously—that fixes 80% of brightness problems.
For the other 20%? Try the optical tricks and placement adjustments I've shared. They're free, reversible, and surprisingly effective.
But here's the truth: cheap garden lights have limits. When you need real security lighting or wide-area coverage, upgrading to a properly engineered fixture saves you time, frustration, and ultimately money.
Got questions about a specific solar light issue? Drop a comment—I love troubleshooting these things!
Featured Articles
How Do Solar Lights Work? The Ultimate Simple Step-by-Step Guide
How Long Do Solar Lights Last? Engineer's Guide to Durability (2025)