
Your outdoor solar lights are acting weird again. They're staying on during broad daylight, or worse—they won't turn on when you actually need them. Before you toss them in the trash, let me tell you something: most sensor problems are shockingly easy to fix.
I've repaired dozens of solar lights over the years, and honestly, 80% of "broken" sensors just need a good cleaning. The other 20%? We'll walk through those too, from battery swaps to wiring checks.
Let's get your lights working again.
Understand Your Sensor Type First

Not all sensors are created equal, and knowing which one you have makes all the difference.
Dusk-to-Dawn Light Sensors use a photoresistor to detect ambient light levels. When it gets dark, the light turns on automatically. If your light is glowing at noon, this is your culprit.
Motion Sensors (PIR) detect movement using passive infrared technology. They're the ones that should light up when someone walks by. If yours isn't "seeing" you, the sensor might be blocked, misaligned, or its sensitivity settings need adjustment.
Here's the quick test: Cover the solar panel with your hand in a bright room. If the light turns on, you've got a working light sensor. If it only responds when you wave your hand near a separate dome, that's your motion sensor.
Basic Checks & Cleaning (Start Here)

Most sensor failures happen because of environmental gunk, not electronic failure.
Clean the Panel & Sensor Lens: Grab a soft cloth and some mild soap. Wipe down both the solar panel and the sensor dome. Bird droppings, dust, and spider webs block light detection more often than you'd think. I once "fixed" a customer's light by removing a single leaf that was stuck to the sensor.
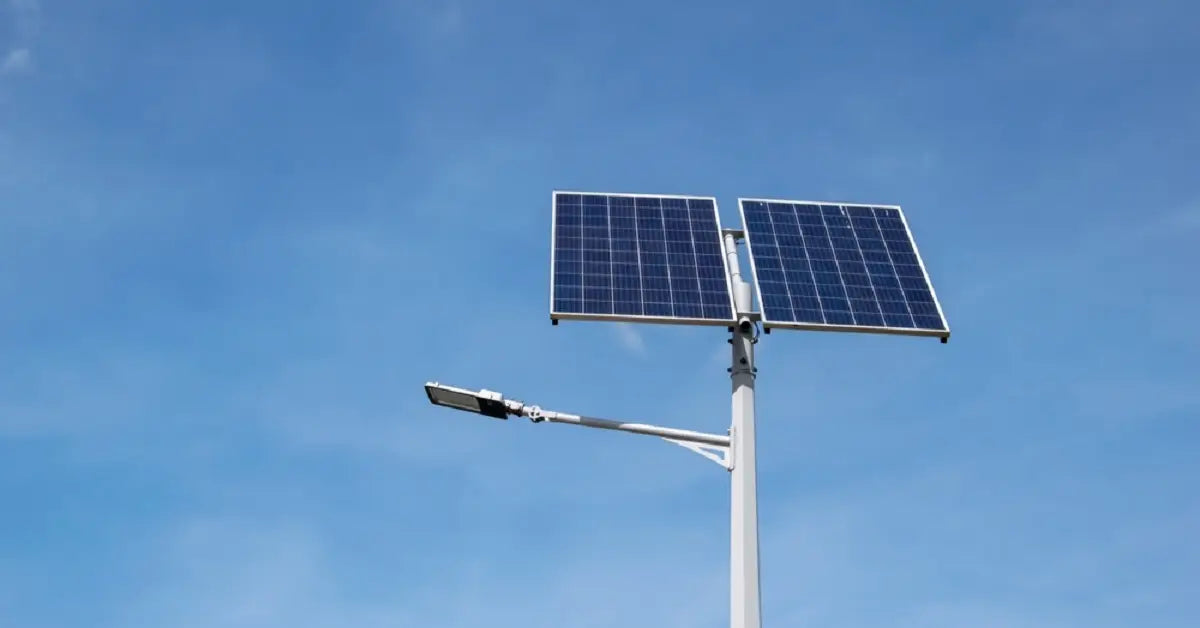
Sunlight Exposure Matters: Your solar light needs 6-8 hours of direct sunlight daily to charge properly. That tree that wasn't there last year? It might be casting shade now. Move the light or trim the branches.
Check the Switch & Pull Tab: New lights often have a plastic insulator tab on the battery compartment. Pull it out. Also, flip the power switch to "ON"—yes, I know it sounds obvious, but we've all been there.
Replace the Batteries: Solar lights use rechargeable NiMH or NiCd batteries. After 1-2 years, they lose capacity. Swap them out for fresh ones of the same type and voltage. This alone fixes about 40% of sensor issues because a dying battery can't power the sensor circuitry properly.
If you're still having issues after cleaning and battery replacement, check out our comprehensive guide on common solar light failures to troubleshoot other reasons lights stop working.
Resetting & Advanced Checks
Time to dig a little deeper if the basics didn't work.
The 15-Minute Reset: Turn the light OFF, remove the batteries completely, and wait 15 minutes. This discharges any residual power in the capacitors. Reinsert the batteries and flip the switch back ON. It's like a hard reboot for your light.
Check Internal Wiring: Unscrew the casing and look for loose connections. Water can seep into cheap lights and corrode the solder joints. If you see white or green "fuzz" on the battery terminals, that's corrosion from battery leakage.
Clean it with an old toothbrush dipped in a mixture of equal parts white vinegar and baking soda. Let it dry completely, then apply a thin layer of Vaseline (petroleum jelly) to the terminals. This prevents future oxidation and moisture damage.
Test Sensor Function Manually: Want to know if the sensor actually works? Cover the solar panel with a dark cloth or your hand in a dim room. If the light turns on, the sensor is functional—the problem is charging. If nothing happens, the sensor itself might be defective. You can verify if the panel is charging the battery to narrow down the issue.
Adjust Sensor Settings: Flip the unit over and look for small dials or switches labeled "SENS" (sensitivity), "TIME" (duration), or "LUX" (light threshold). Try adjusting these to see if the sensor starts responding. Some lights have sensitivity set so low they barely detect anything.
When to Replace Your Solar Light
Sometimes, fixing isn't worth it. Here's when to cut your losses:
Water Damage on the Circuit Board: If you open the casing and see visible rust, corrosion across the PCB, or burn marks, the electronics are toast. Water and electricity don't mix, and once the board is compromised, repairs are nearly impossible.
Burnt Out LEDs: Look closely at the LED chips. If you see small black dots or discoloration inside the bulb, they're dead. Most solar lights use integrated LEDs that can't be replaced individually.
The Unit is Old (3+ Years): Solar lights aren't built to last forever. If yours is ancient, has a tiny battery (under 2000mAh), and the plastic is yellowed or cracked, just upgrade. You'll get better performance and save yourself hours of frustration.
The Real Problem: Sensor Positioning

Here's something most repair guides won't tell you: sometimes the sensor isn't broken—it's just in the wrong place.
Traditional solar lights mount high on walls or eaves to catch sunlight. That means the motion sensor is 8-10 feet off the ground, pointed at the wrong angle, or blocked by gutters. You end up with dead zones where the sensor simply can't "see" movement.
This is a design flaw, not a user error.
Intelamp's Separate Sensor Case solves this completely. Our linkable floodlights with remote sensor case let you install the light where you need illumination and place the motion sensor up to 26 feet away—right where the action is.
One sensor detects motion, and every linked light (up to 100 feet away) turns on simultaneously. It's like upgrading from a flip phone to a smartphone. Plus, with a 12,000mAh battery and IP65 waterproofing, these lights actually survive real weather.
No more climbing ladders to "fix" a sensor that was never going to work from that position anyway.
Explore Reliable Motion Sensor Lights
If you're tired of repairing cheap lights every season, it might be time to upgrade to something built to last. Browse reliable motion sensor lights designed with real-world performance in mind.
FAQs
What to do if the light sensor is not working?
Start by cleaning the sensor lens and solar panel with a soft, damp cloth. Test the sensor by covering it with your hand in a bright area—if the light turns on, the sensor works and the issue is likely charging or battery-related.
How do you clean a solar light sensor?
Use a soft cloth dampened with mild soap and water. Gently wipe the sensor dome and solar panel to remove dirt, dust, or debris. Avoid harsh chemicals or abrasive materials that could scratch or cloud the plastic lens.
How to test a solar sensor?
Cover the solar panel or photoresistor with a dark cloth or your hand in a dim room. If the light activates, the sensor is functioning. For motion sensors, wave your hand in front of the PIR dome to trigger detection.
Why does my solar light not charge?
Common causes include dirty solar panels, insufficient sunlight (less than 6 hours daily), shaded installation locations, or old rechargeable batteries that no longer hold a charge. Clean the panel and consider replacing the batteries first.